Using JS scripts
JS scripts can be written for each form layout and page.
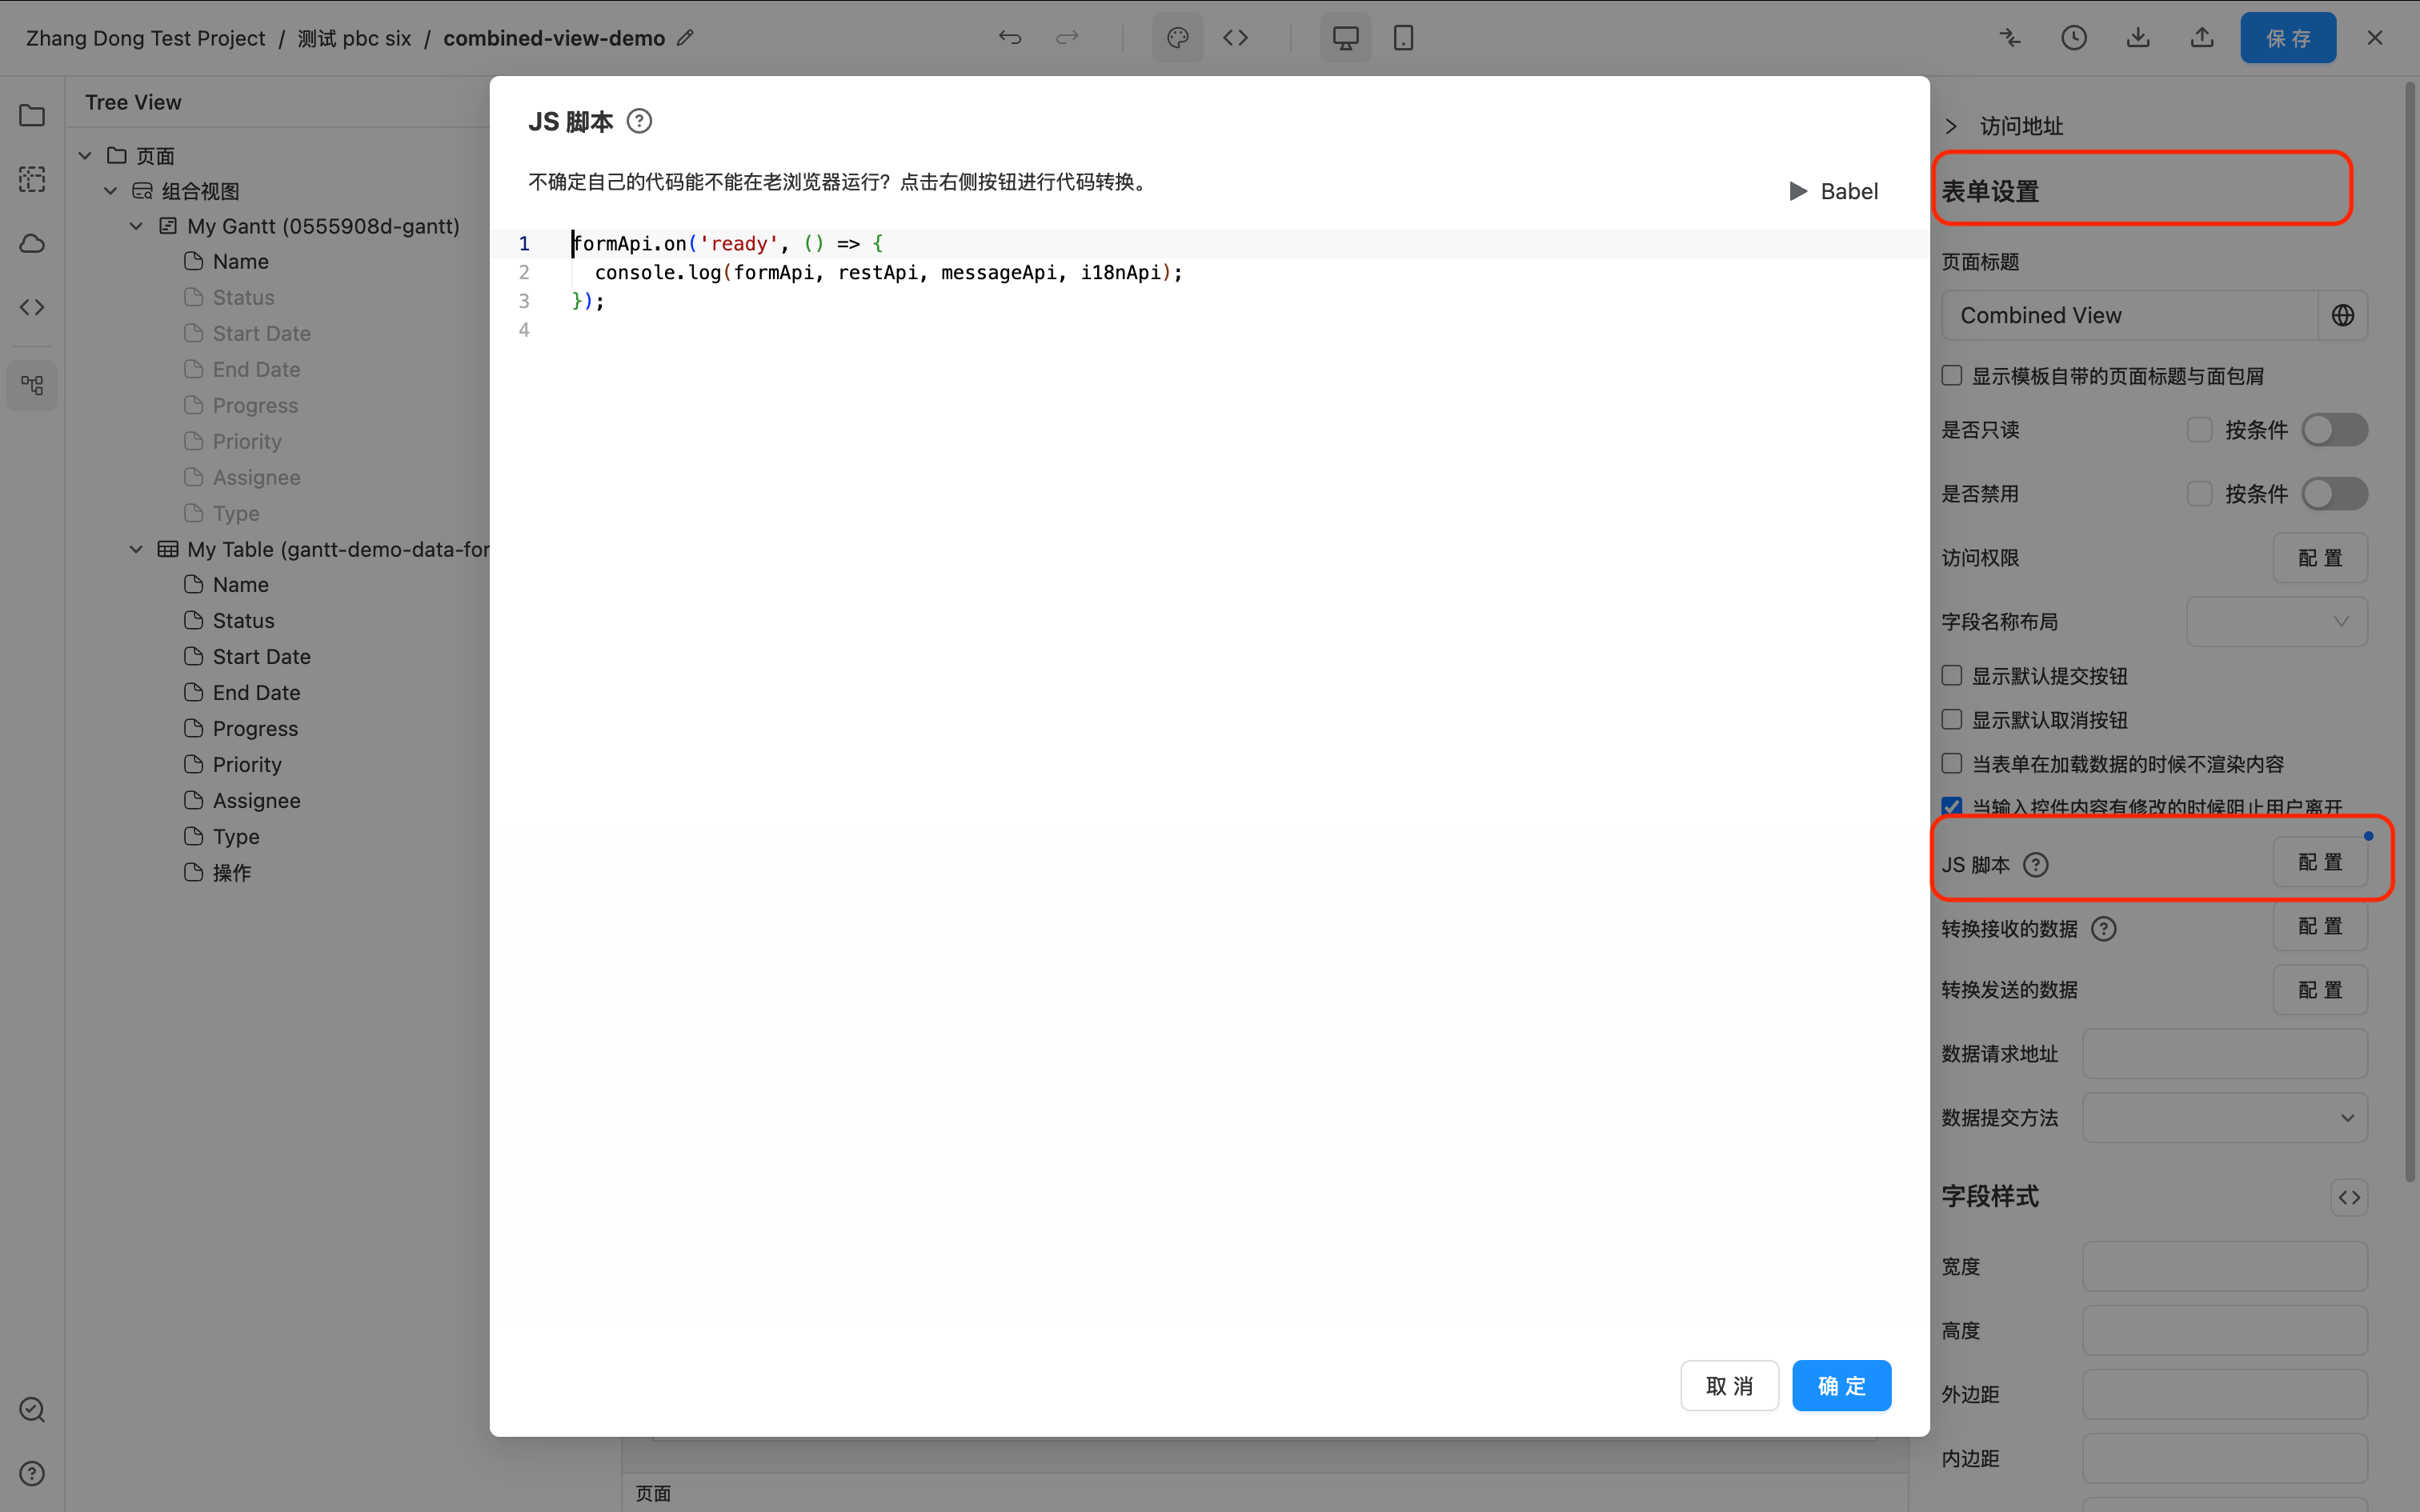
All browser DOM apis in JS scripts are available, and there is no difference between writing JS files in local code.
In addition, formApi, restApi, messageApi, i18nApi functions such as page operation data operations and sending requests.
console.log(formApi, restApi, messageApi, i18nApi);
The formApi.on() method can register events. It is recommended that all codes be placed under the ready event. ready will wait for all asynchronous component api to be available before executing, such as Table, EChart, Gantt components, etc.
The formApi.getFieldApi() method can obtain the interface of a single component based on the ID to operate the component.
Example
Example 1, Linkage between two Tables
Example demo address: https://ceta-tutorial.ceta-qa.test.bizops.com.cn/ui/js-demo/page/link-two-tables
In the example gridApi represents all available apis for Ag-Grid. Please refer to https://www.ag-grid.com/javascript-data-grid/grid-api/
- The page has an Input and two Table components.
- The right Table has configured dataFilters to depend on the value of Input for gender filtering.
- The sample code mainly implements the automatic filtering condition of the right table with the gender** selected row on the left table.
formApi.on('ready', function () {
  const firstTable = formApi.getFieldApi('jsDemoTable1');

  firstTable.gridApi.addEventListener('selectionChanged', function () {
    const rowData = firstTable.gridApi.getSelectedRows()[0];

    if (rowData && rowData.gender && rowData.gender[0] && rowData.gender[0].label) {
// Assign the ID of the selected row data to the component with the form id value filterInput
      // Another Table's dataFilters dependency filterInput will automatically refresh
      formApi.setValue('filterInput', rowData.gender[0].label);
    } else {
      formApi.setValue('filterInput', '');
    }
  });
});
Example 2, Listen to the Input Enter event
Example demo address: https://ceta-tutorial.ceta-qa.test.bizops.com.cn/ui/js-demo/page/input-enter
- Listen to the keyboard operation of Input, and automatically trigger the click event of another button when entering Enter;
- The function implemented by Button is to send the Input value as the requested data.
formApi.on('ready', function () {
  const inputApi = formApi.getFieldApi('name');
  inputApi.input.addEventListener('keydown', function (event) {
   // Enter key triggers the click of sendButton
    if (event.key === 'Enter') {
      event.stopPropagation();
      const button = formApi.getFieldApi('sendButton').node;
      button.click();
    }
  });
});
Example 3, Linkage between Chart and Table
Example demo address: https://ceta-tutorial.ceta-qa.test.bizops.com.cn/ui/js-demo/page/chart-drill-down
ECharts API Please refer to https://echarts.apache.org/zh/api.html
-
Realize the linkage between Chart data and Table data;
-
Listen to the Chart click event and click the data whose data.productCategory id value is hiddenCategoryValue;
-
Table's dataFilter depends on hiddenCategoryValue to refresh automatically.
formApi.on('ready', function () {
  const theChart = formApi.getFieldApi('productPieChart');


  theChart.chart.on('click', function (params) {
    const data = params.data;
    const category = data && data.productCategory;

    formApi.setValue('hiddenCategoryValue', category);
  });
});
Example 4, Table Custom Export
Example demo address: https://ceta-tutorial.ceta-qa.test.bizops.com.cn/ui/js-demo/page/table-custom-export
Description
Without the export function that comes with Table, it realizes sending requests to third-party APIs, bringing out Table's filterModel and searchText, etc.
The first step is to make the settings in the Button settings interface. The setting for calling JS code is to select Call Form Function and fill in customExport in the ** method name field.

The second step is to register the customExport method in the JS script.
formApi.registerMethod('customExport', function () {
  const theTable = formApi.getFieldApi('myTable');
  const tableState = theTable.getTableState();
  const filterModel = tableState.filterModel;

  restApi
    .post('/api/***', { filterModel })
    .then(function () {
      messageApi.success('Export successful');
    })
    .catch(function () {
      messageApi.error(
        'Because there is no API, the export failed, but the JS function has been implemented. Please check the Network's request. Payload has sent the Table's filterModel.',
      );
    });
});
Example 5, click Button to execute any JS
Example demo address: https://ceta-tutorial.ceta-qa.test.bizops.com.cn/ui/js-demo/page/button-call-js
The first step is to make the settings in the Button settings interface. The setting for calling JS code is to select Call Form Function and fill in doMethod in the **Method Name field.
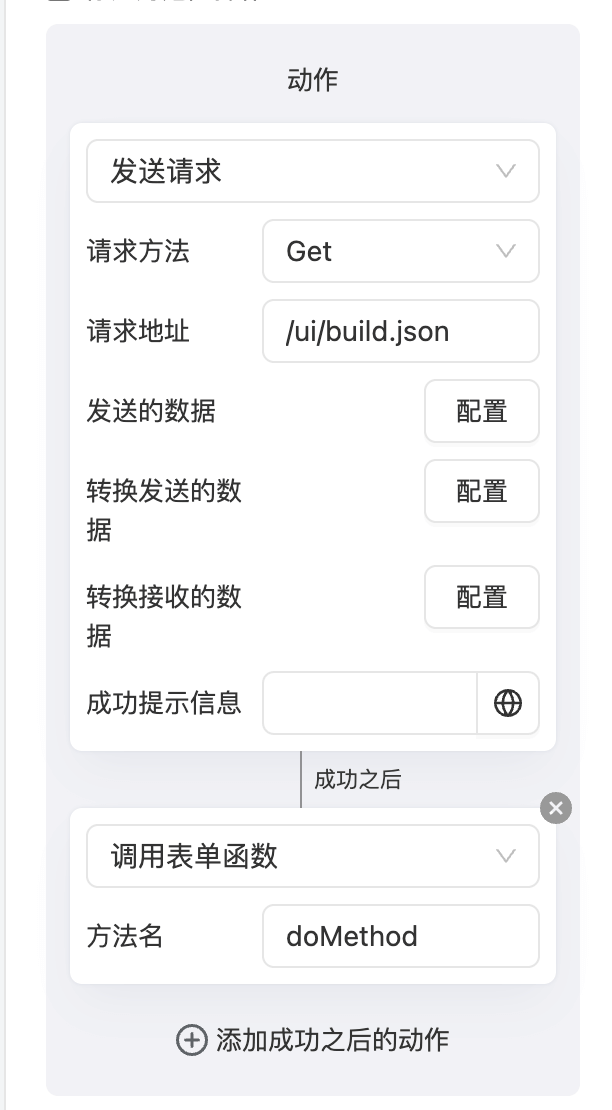
The second step is to register the doMethod method in the JS script.
formApi.registerMethod('doMethod', (params) => {
  return new Promise((resolve) => {
    const { buttonApi, response } = params;

    buttonApi.setLoading(true);

    setTimeout(() => {
      messageApi.success(
        'The current front-end version of the website:' + response.BUILD_NUMBER + ',Code compilation time:' + response.date,
      );
      buttonApi.setLoading(false);

      resolve();
    }, 2000);
  });
});
API
The complete JS API reference is here